
Introduction
Introduce the project here. What will children be creating? What is the objective of the project?
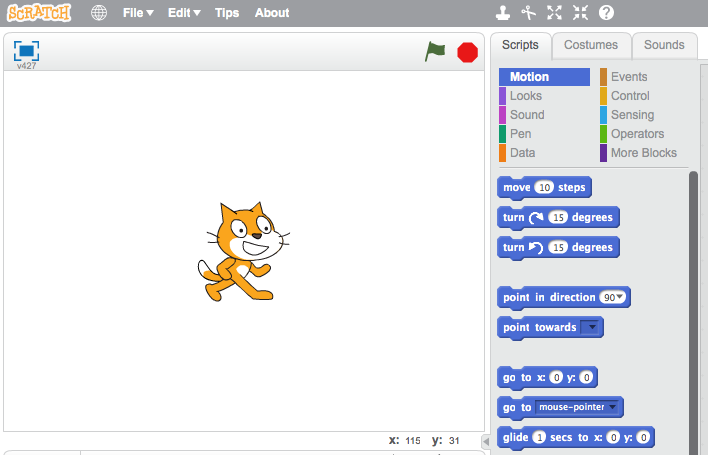
You can also add an embedded version of the final project, so that children can see what they are working towards. Don’t worry, children won’t be able to see your code!
<iframe allowtransparency="true" width="485" height="402" src="http://scratch.mit.edu/projects/embed/32722912/?autostart=true" frameborder="0"></iframe>
<img src="project-final.png">
Step 1: Step name goes here
Briefly explain the outcome of this step.
Activity Checklist
The steps should be broken down into a number of checkpoints. You can add text in bold or italics to add emphasis to key words or important points.
Each checkpoint should clearly explain what the child needs to do.
To aid clarity, you can also include images, like this:
screenshot You should also regularly remind children to save their project:
Save your project
Step 2: Adding Scratch blocks
This step shows how to add Scratch code to your project.
Activity Checklist
You can add Scratch code to your project like this:
    when flag clicked
    point in direction (120 v)
    set pen color to [#FF0000]
    pen down
    forever
        move (1) steps
        if on edge, bounce
    end
You can test your Scratch code, and there is a guide to adding Scratch blocks to your project notes.
You can also colour-code your text, to match the colour of Scratch blocks.
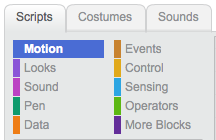
screenshot You can add:
Motionblocks, for examplemove (10) stepsorif on edge, bounce;Eventblocks, for examplewhen flag clickedorwhen I receive [message v];Looksblocks, for exampleshowornext costumeControlblocks, for exampleforever, orwait (1) secs;Soundblocks, for exampleplay sound meoworstop all sounds;Sensingblocks, for examplekey space pressedorask ... and wait;Penblocks, for examplepen downorclear;Operatorblocks, for examplepick random 1 to 10or10 * 2;Datablocks for variables and lists, for examplescoreorchange score by 1;Moreblocks, for examplemy function.
Test your project
You should regularly ask children to test their project, so that they can see the effects of the code they’re creating. You can even use these points as opportunities to fix bugs and improve code.
Save your project
Challenge: Challenge name
You should add at least 1 challenge, to allow children to apply what they’ve during the project. You can ask children to fix a problem or improve or adapt their project in some way.